How to Integrate External Data with Virtual Tables in Dataverse
Dataverse is an incredible component of Power Platform that allows us to store business data, create a security model around it, and integrate it within the Power Platform seamlessly. It should be the go-to approach for most simple business cases built using the platform. For almost all of the projects, Dataverse has been viewed as the 'holy grail,' as it enabled us to create tables quickly and build applications on top of them natively.
Recently, however, we had a business case where we needed to build a case management application based on an existing SQL table. One option could, have been to migrate the Data to Dataverse and call it a day. While this sounds simple, some limitations made us stick with the SQL table. One of them was a requirement from the business. Once every two weeks, we would need to perform CRUD operations on over 1 million records, exceeding the daily service protection limits by a significant margin.
So, the choice was clear - we needed to use the SQL table and connect it to the model-driven application we had built.
But wait, you might ask. Can't model-driven apps only be built on top of Dataverse tables? Yes, that is correct!
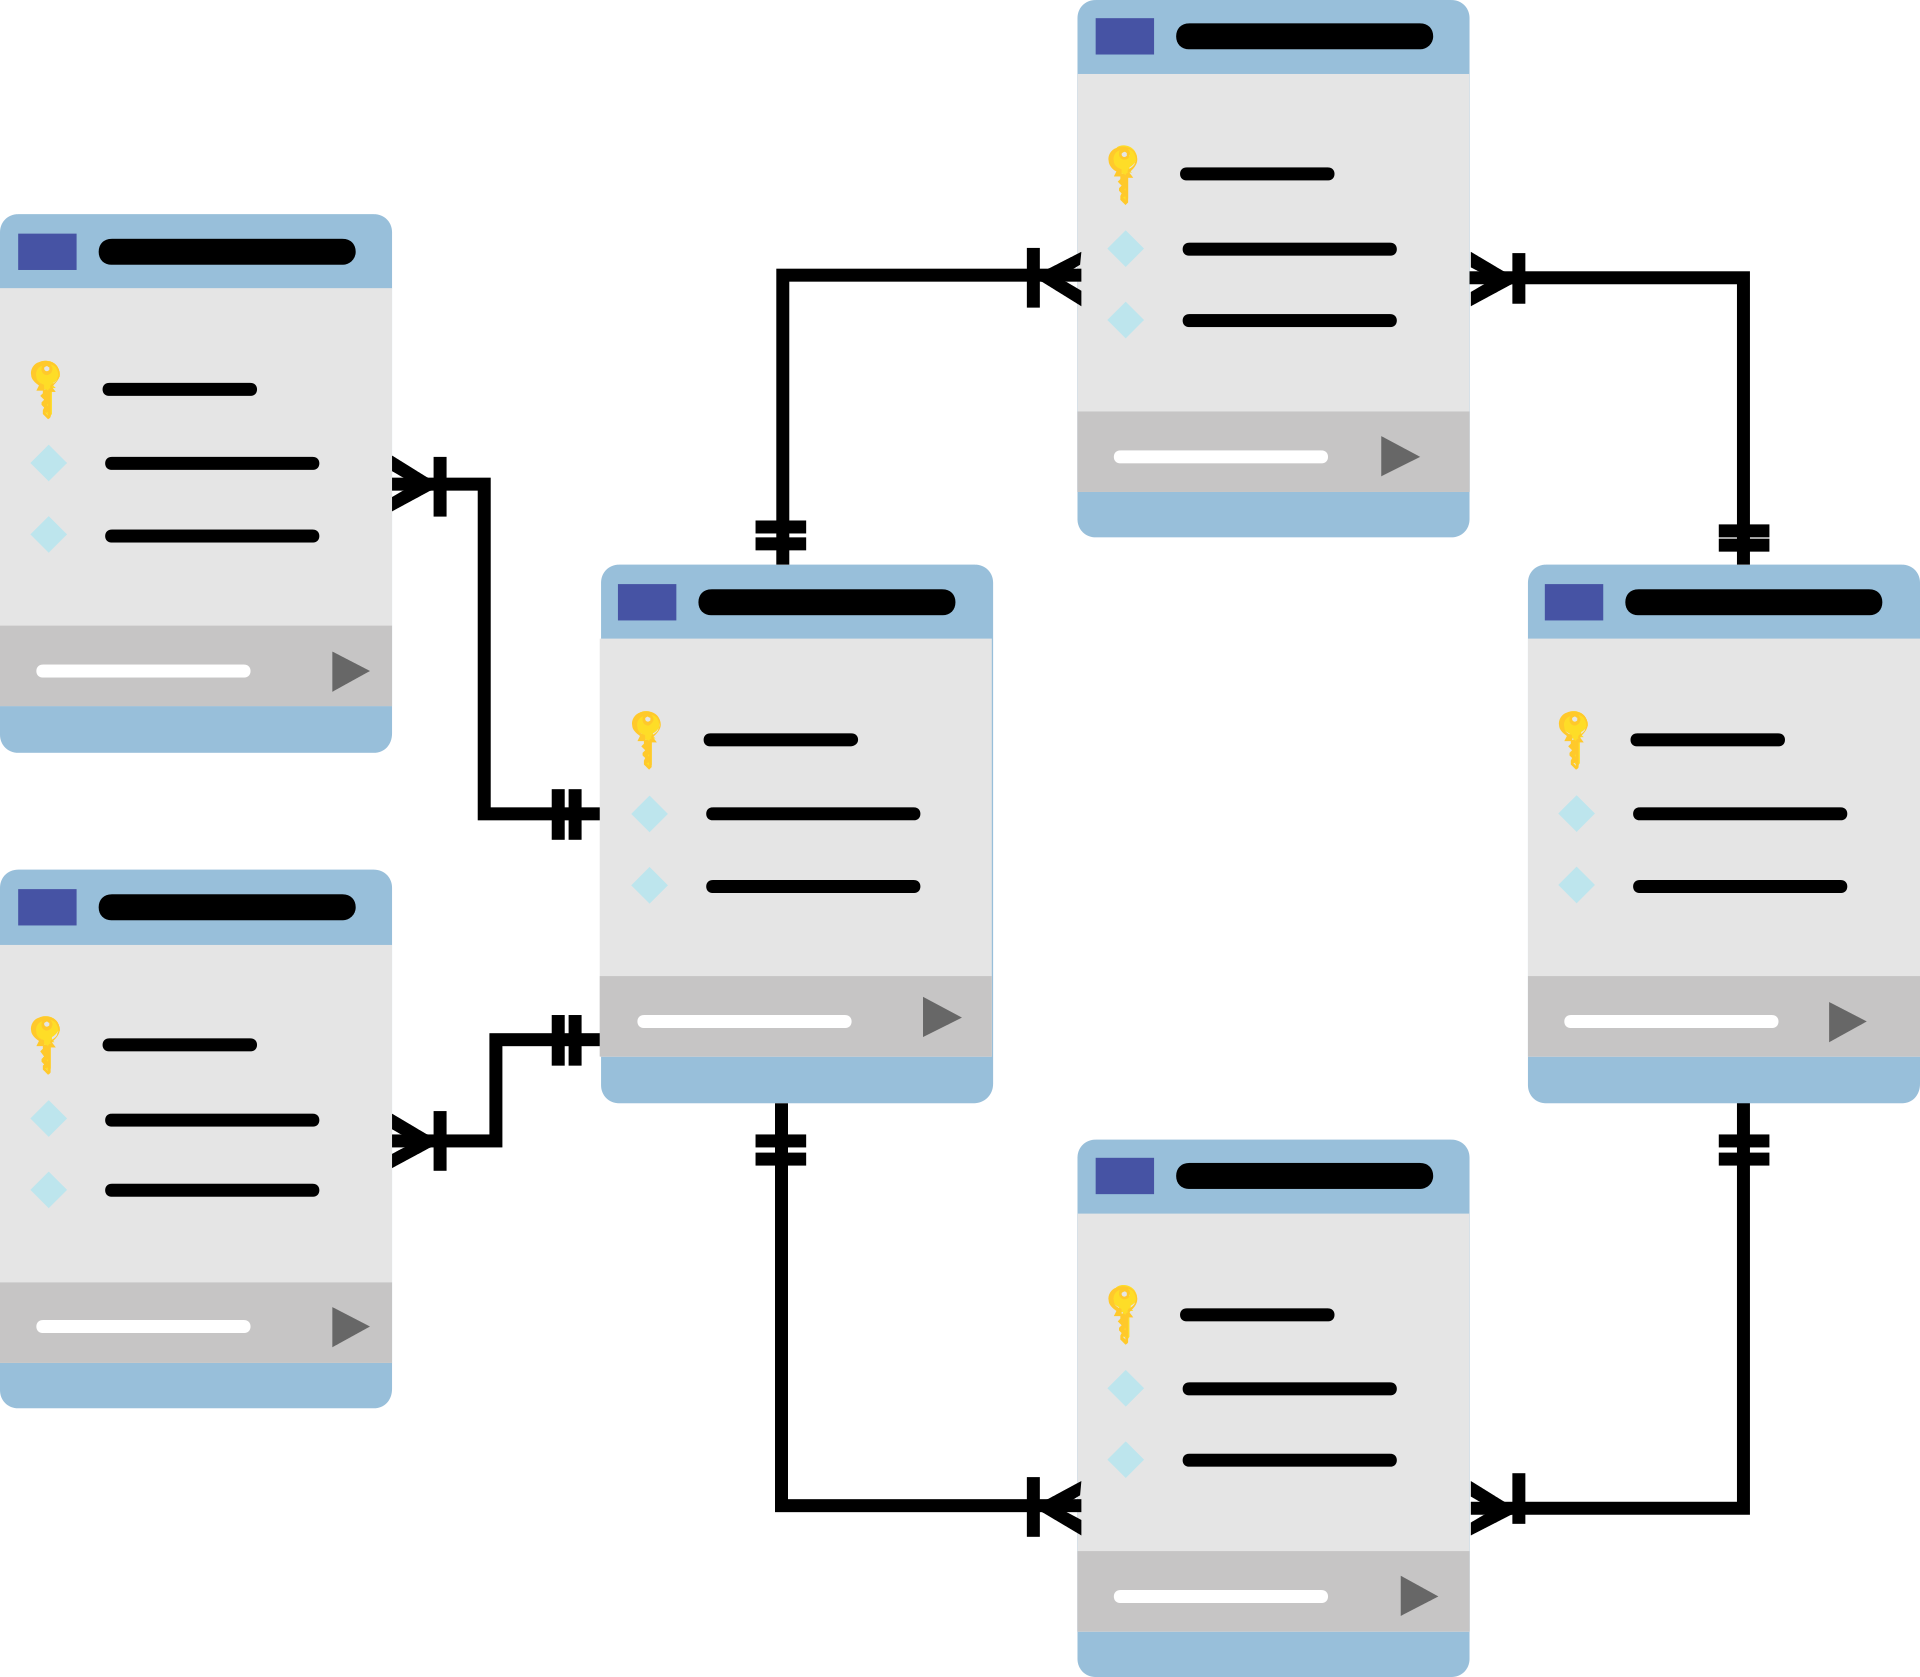
Here we can utilize a concept called virtual tables, which essentially is a representation or definition of an external table, so the columns and data types, together with the Table itself, will look just like any other Dataverse table, with one crucial difference - the data is not stored in Dataverse. It will be retrieved on demand once a request is made.
How To Create A Virtual Table
Later down the road, I will expand upon more technical details on how to do virtual tables work behind the scenes, but first, I would like to provide a short overview of how to set up virtual tables for your next Power Platform project. You can also follow the guide created by Microsoft here.
Previously, it was quite a hassle to create virtual tables. You had to develop the Data source yourself, together with the connection reference, and use the entity catalog to provide the primary column. This was a horrible user experience and, luckily, is no longer necessary (unless you wish to create a virtual table from Excel). The following steps will be almost identical for SharePoint and SQL virtual tables.
1. Open your solution under all objects, and select + New. In the dropdown, you will see all of the options we have used for app automation, dashboards, etc., together with another level called Table. Here you can select Table from external data to start the process.

2. New window will show up, asking you to select a connection. If you have not made one already, you can press + New link and choose SharePoint or SQL Server based on where your data is stored. Here, an important detail is encouraging the Advanced options and selecting manually configure connection reference.

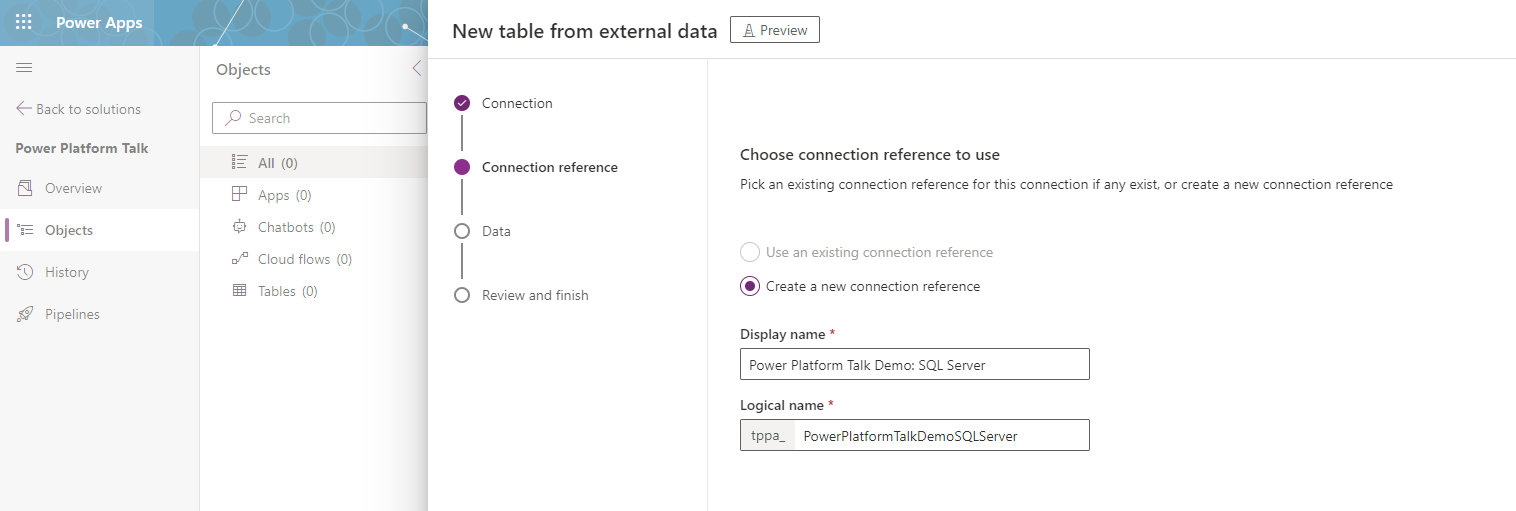
3. Next, you must create a new connection reference or use an existing one. If you have one for the project for SQL Server, you can reuse the same one. In my case, I will create a new reference using a simple naming convention we have adapted, Project name: Connection name, and press next.
4. Then, we must provide the SQL server name and Database. You should know this information already or find the information in Azure (assuming the server is hosted there). I will provide an example server and Database for one of our projects, but your values will differ in this step. Once you have provided the values, press next.

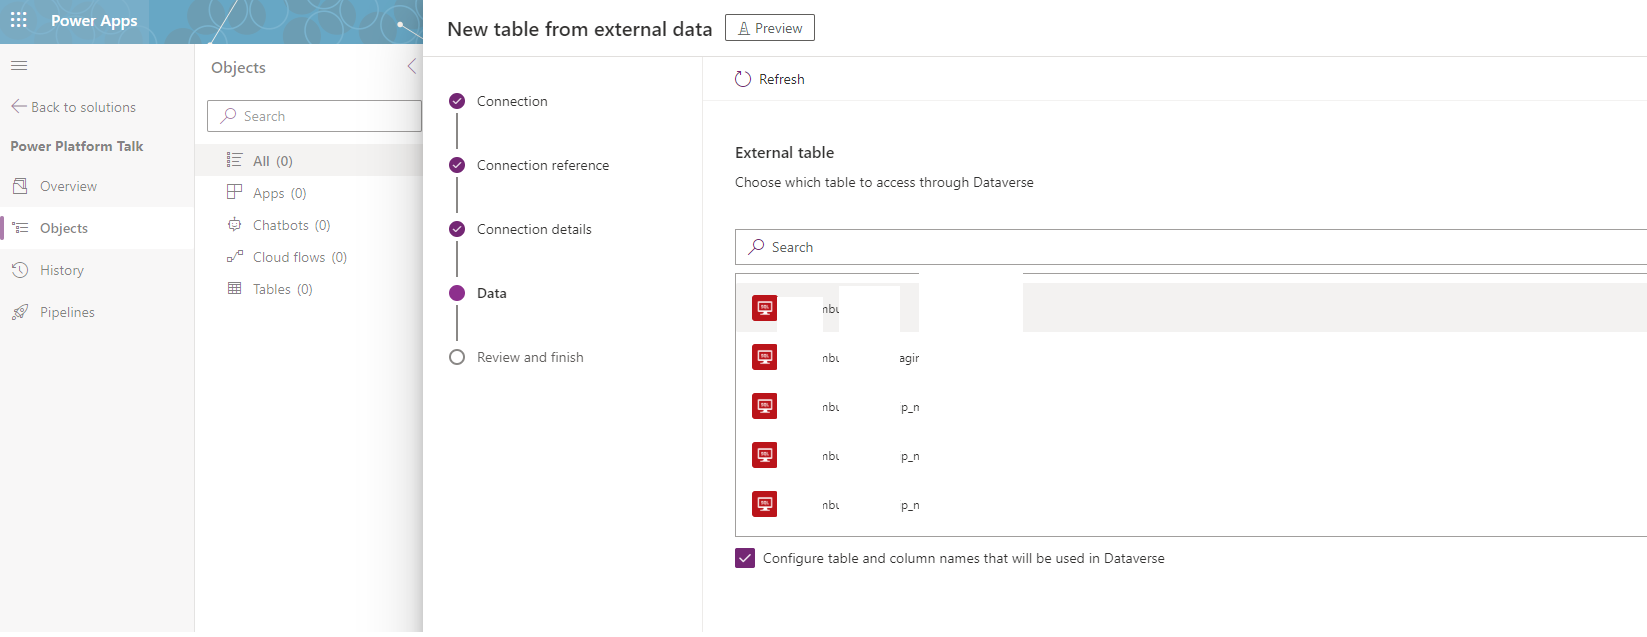
5. On the next page, you will see all the tables in the Database. My case has multiple choices, so I will select the one I want to virtualize. Of course, this will look slightly different, as you might have only one table present. Here, we need to configure them individually, so if you want to add multiple tables, you must repeat this process.
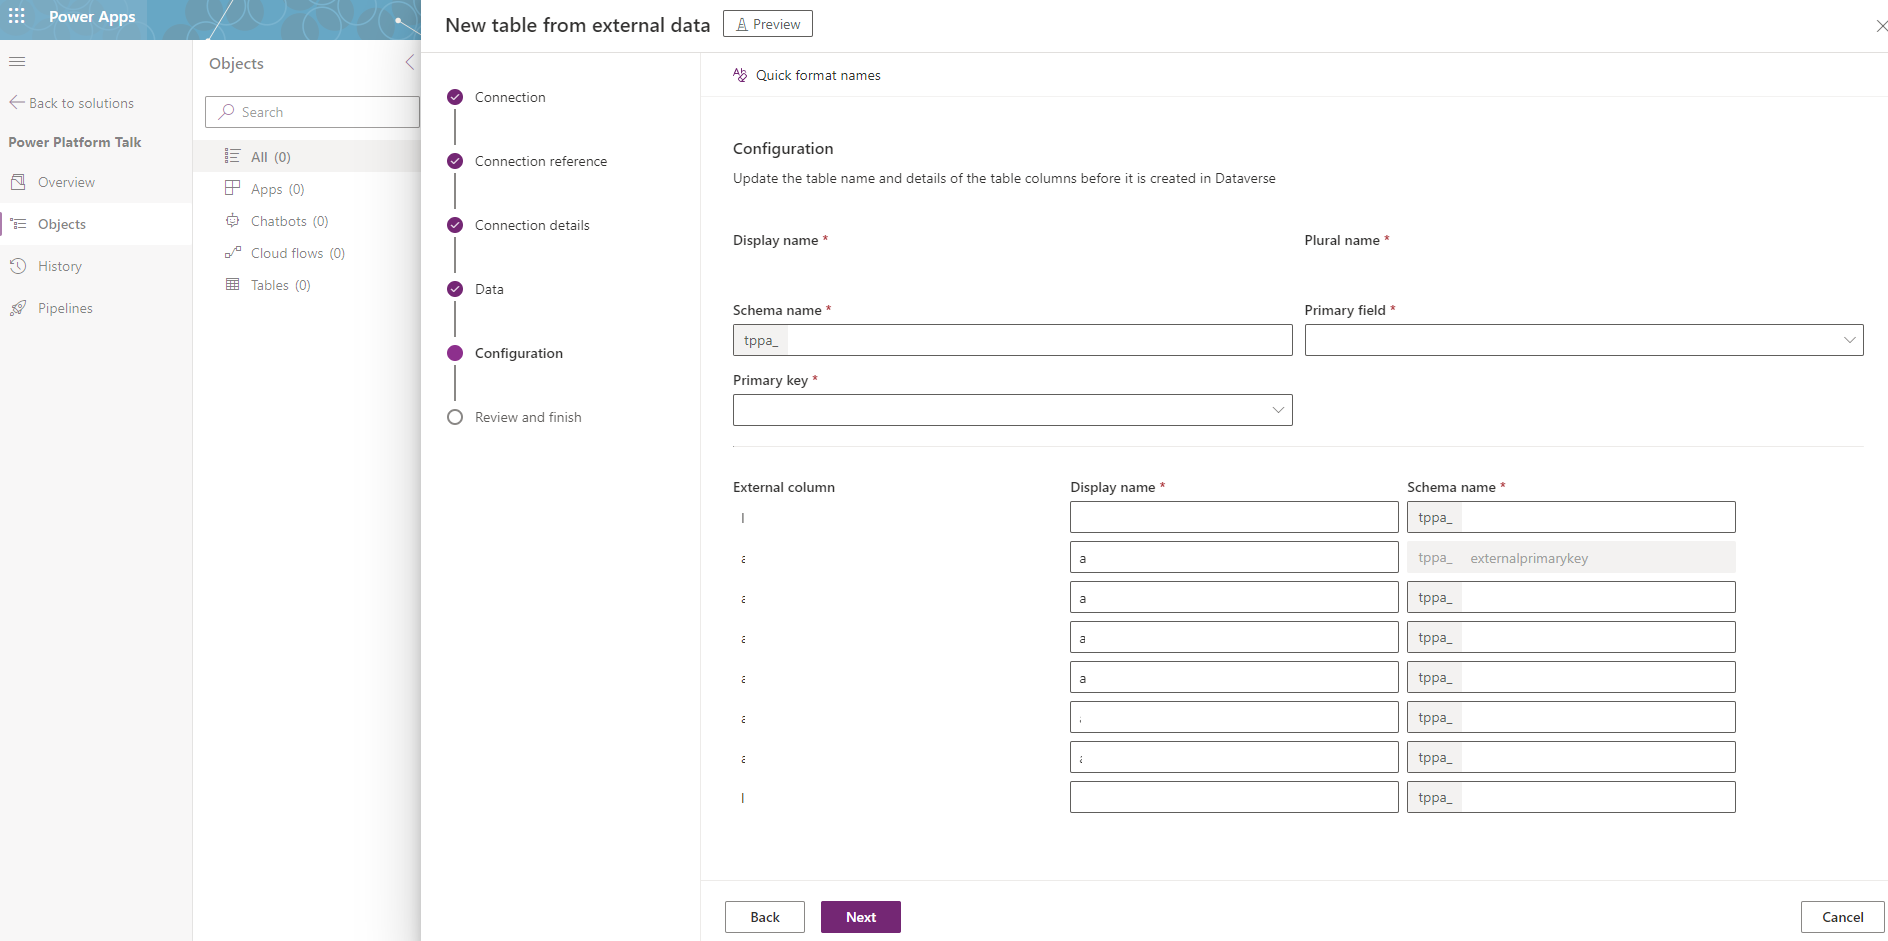
6. Last step is to configure the Display names, logical names, and the primary field for the table. This should be a pretty straightforward process, as most of the areas, if not all, will be pre-populated automatically. You can adjust the schema name as well, in case that is relevant, but of course, it might be easier to have them identical in both places for easier maintainability.
7. That's it! You now have created a virtual table in Dataverse; congratulations. You can now use it almost just like any other table, with some limitations.
Virtual Tables and ALM
While having virtual tables is excellent, they do not help if we cannot follow the proper ALM practices, which might differ for each organization.
A simple, high-level overview would be to have three environments, dev, where you develop the application in unmanaged solutions; uat, where you deploy managed solutions and provide access to users to check if the requirements are met; and prod, where you deploy the final managed solution.
Of course, we would never want to have the data source in the testing environment in production. This would lead to users working on production data while testing the features, which should always be a no-go. Instead, I would recommend having a database for each of the environments (or, as a minimum, one for dev and uat and a separate one for production).
Exporting the tables will be identical to any other database table. Add it to your solution with the connection reference and virtual table data source. If you followed this guide, these would be automatically added to the solution. I recommend renaming the virtual table data source from the auto-generated name to something more meaningful.
Once ready, export the solution, and import it into the UAT environment. During your first import, you will be prompted to either select or create a new connection for SQL server or SharePoint, depending on which data source you are using. Add it here, but keep in mind that the account that will be using the connection has to have access to the data source. Otherwise, no data will be retrieved.
The last step would be to update the Virtual Table Data Source to point to your UAT server and Database. The easiest way to do so is to go to the Advanced settings, Administration, Virtual Data Sources, select the one we created and change the value in the text field. This should immediately be reflected in the application.
Limitations
A complete list of limitations can be found on the Microsoft learning page here. Here is a short extract of some of the points, based on my personal opinion, that you should keep in mind when evaluating if virtual tables should be an option for the business case:
- Audit logs are not supported; you must build a custom solution to have this functionality.
- Roll-ups and calculated columns are unavailable; you must have a flow to calculate them in the background.
- They are organization-owned, and row-level security is not supported. You can still set up access to the table on an organizational level and differentiate between CRUD operations.
- Business process flows are not supported.
- No additional columns can be created on the SQL database side on the virtual table. You can, however, make a lookup column in other tables that point to the virtual table.
Keep in mind
There are some issues we have noticed while working with virtual tables. I will update the list as I go, but here is an overview of the current problems and how we resolved them:
- The data type has changed for a column in SQL, which has broken the application, as Patch requests no longer work. In monitor mode, you would see that this is due to a mismatch in data types for that column. The easiest fix is to delete the column from the environment (don't worry, this would not delete it from the SQL database). Then, follow instructions 1-7 once again to recreate the table. This should now provide you with all of the columns. However, we noticed that Dataverse is still treating the column with the previous data type, so the easiest option to bypass this was to change the logical name of the column.
- New columns are not showing up in the Dataverse table - here, it is the same approach, follow the steps all over again to recreate the table, and the new columns will now be included.
- We have also received an import error with dependencies missing in our UAT/Prod environment. Ensure you have added the virtual table data source and connection reference to the solution you are exporting.

Comments ()